


A travel car seat checklist before you fly is a short list of checks for the seat’s label, size, hardware and airline rules that takes about 20 minutes to run through. It costs nothing but your time, though replacing a lost manual or a broken part is inexpensive relative to buying a new seat. The difficulty is easy — it’s just looking, measuring and reading. The one thing you must have before starting is the seat itself, with its labels still attached and readable.
What you need for a flight-ready car seat

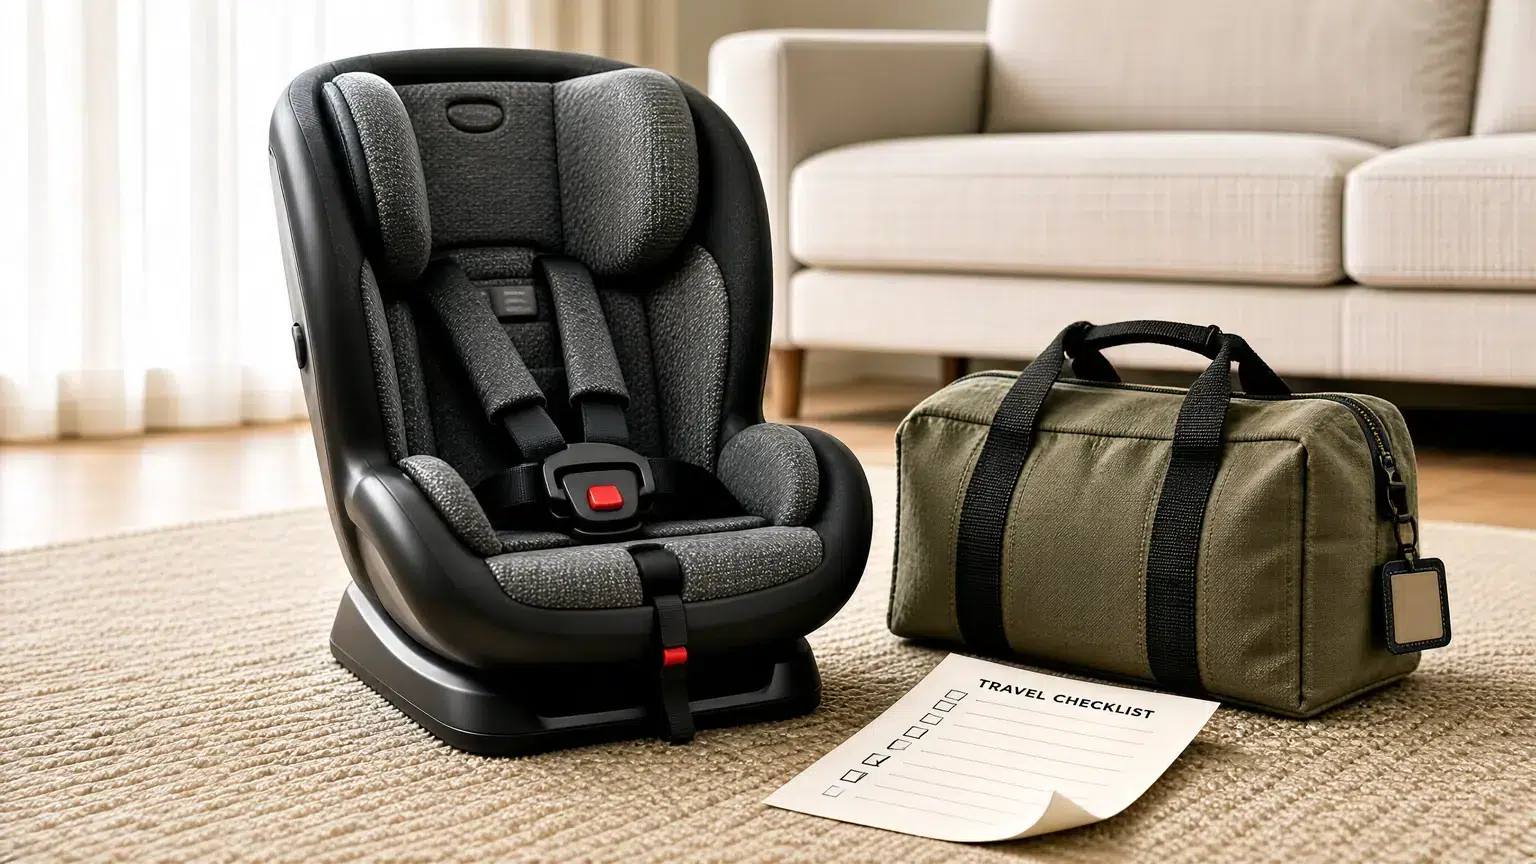
You don’t need special tools to check a child restraint for air travel. Everything on this list is either already on the seat or easy to find at home. Having them in front of you stops you from guessing at the gate when you’re tired and holding a boarding pass.
| Item | How much | Why it’s needed | A substitute |
|---|---|---|---|
| Car seat with labels | 1 seat | Proves it’s approved for aircraft use | none — don’t swap this |
| Tape measure | 1 standard tape | Confirms it fits the airline seat width | A piece of string marked at 17 inches |
| Owner’s manual | 1 paper or digital copy | Shows correct belt routing for planes | Maker’s website PDF for your exact model |
| Car seat travel bag | 1 padded bag | Protects the shell and harness if checked | A heavy-duty trash bag sealed with tape |
| Harness buckle | 1 working buckle | Must click shut and release smoothly | none — don’t swap this |
| Expiration date sticker | 1 readable sticker | Seats past their date shouldn’t be used | Check the shell molding for stamped date |
Before you check your car seat for flying
Clear a table or floor space where you can turn the seat around easily. You’ll need room to lay it flat and look underneath.
- Turn off your phone notifications so you don’t miss a faded label while distracted.
- Empty every pocket, cup holder and storage compartment on the seat itself.
- Move loose toys, blankets and strap covers away from the harness path.
- Wipe the certification labels with a damp cloth if they’re dirty; unreadable text means the gate agent can refuse it.
The preparation people skip is checking the airline’s specific seat-width limit before packing. If your car seat measures 18 inches wide and your airline’s narrowest economy seat is 17 inches, it won’t fit between the armrests.
Measure your seat’s widest point — usually across the armrests or the base — and compare it to the number published on your airline’s “traveling with children” page. If the seat needs structural repair, a new harness, or has been in a crash, stop here; contact the manufacturer directly, as repairing safety equipment without training risks your child’s protection.
Steps to verify your car seat for air travel

-
Find the certification sticker on the back or bottom of the plastic shell. Read it out loud: it must state that the restraint conforms to all applicable federal motor vehicle safety standards and is approved for use in aircraft. If that certification statement isn’t there, you can’t use it on the plane. This assumes a US-market seat; European seats carry an ECE R44 or R129 label instead.
-
Measure the widest part of the seat with your tape measure. Write the number down. Check your specific airline’s published maximum car-seat width before flying, because seat widths vary by carrier and aircraft. If your measurement is over 17 inches, check your specific airline’s policy page for their maximum allowed width.
-
Locate the expiration date molded into the plastic or printed on a white sticker. Compare today’s date to that number. If the seat expired last month, it doesn’t go on the plane. The clock starts from the manufacture date, not the day you bought it.
-
Pull the harness straps all the way out and run your fingers along each inch. Look for cuts, fraying or stiff spots where the webbing folded too long. A damaged strap can’t hold tension during turbulence. If you feel rough threads breaking free, the seat fails this step.
-
Push the red harness release button five times in a row. It should spring back instantly every single time without sticking. Hold the seat upside down while doing this to make sure gravity isn’t helping the mechanism return. A sticky buckle is a ground-stop problem.
-
Open the owner’s manual to the aircraft installation section. Trace the airplane belt path with your finger on the actual seat — it’s often a different slot than the one you use in your car. If you can’t route a lap belt through it cleanly, practice until you can.
-
Check the FAA guidance on child restraints to confirm your seat type is allowed. Booster seats aren’t approved for takeoff or landing because aircraft seats only have lap belts, but the FAA-approved CARES harness vest is permitted for all phases of flight. FAA rules on child safety seats explains how to determine whether your device is approved for aircraft use.
-
Pack the manual inside the seat’s storage area or tape it to the back. Gate agents sometimes ask to see the routing instructions if the label is worn. Having it attached prevents a scramble through your carry-on bag while other passengers wait behind you.
-
Place the seat inside your padded travel bag if you plan to check it at the counter. Zip it fully closed. If you’re carrying it onto the plane, leave it out of the bag so you can install it quickly without blocking the aisle.
-
Take a photo of the certification label and the serial number with your phone. Store it somewhere you can open without internet access. If the sticker peels off during baggage handling, that photo is your proof the seat was legal when you left home.
Signs your car seat passed the check
A seat that’s ready for the cabin has three clear signs you can verify yourself. First, the certification label shows the aircraft phrase completely, with no letters rubbed off or covered by dirt. Second, your tape measure reads 17 inches or less across the widest point, assuming you’re flying a standard US carrier economy seat. Third, the harness buckle clicks shut firmly and releases with one thumb press every time you test it.
If any of these fail, the seat needs another round of attention. A label you can’t read means wiping it again or finding the manual’s printed confirmation. A width over 17 inches doesn’t mean the seat is broken; it means you must call the airline to ask if your specific row accommodates it, or you’ll need to check the seat in the cargo hold instead.
A buckle that sticks twice out of ten tries means debris is trapped inside, and you should rinse the mechanism with warm water and let it dry completely before testing again. Don’t rely on how the padding feels or whether the plastic looks shiny — those don’t tell you anything about safety. The numbers on your tape measure and the words on the sticker are the only checks that count.
When the car seat check goes wrong
| What happened | Why | What to do |
|---|---|---|
| Label is missing or peeled off | Age, heat, or baggage friction wore it away | Show the manual’s certification page or use a different seat |
| Seat is wider than 17 inches | Designed for larger SUVs, not airplane rows | Check it at the ticket counter instead of carrying it on |
| Buckle won’t latch shut | Crumbs or sand jammed the mechanism | Rinse with warm water, dry fully, test five times |
| Harness strap is frayed | Long-term folding weakened the webbing fibers | Contact the manufacturer for a replacement strap kit |
| Seat expired two months ago | Plastic degrades over six to ten years depending on brand | Leave it home and buy or borrow a current-model seat |
| Airline agent refuses the seat | They couldn’t verify approval or it blocks the exit row | Ask for a supervisor or check the seat as luggage |
How often to run through this list
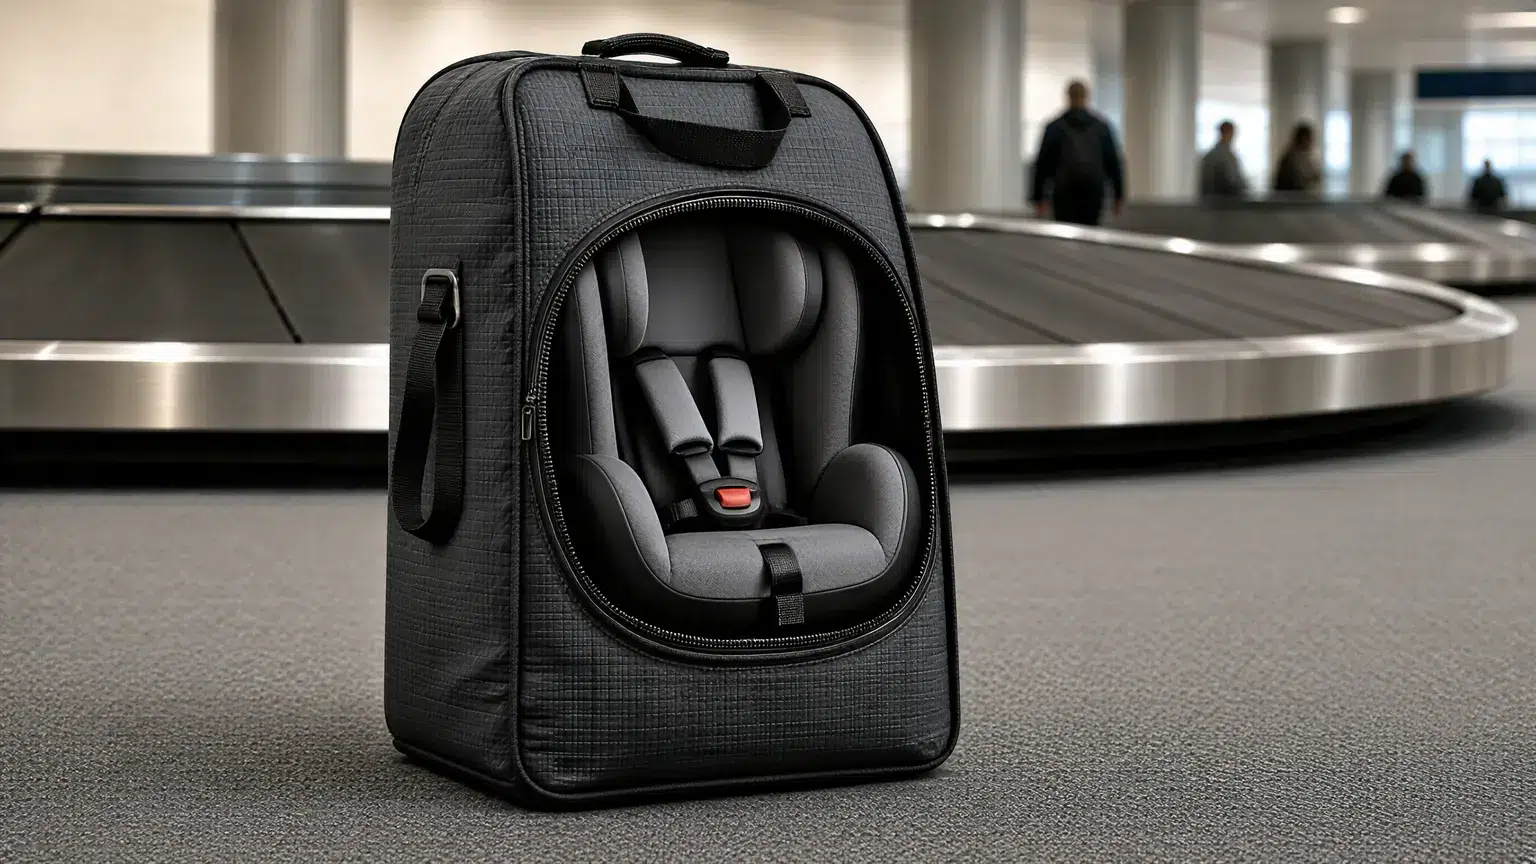
Run this check once for every flight where the seat travels, whether it rides in the cabin or goes in the cargo hold. That sounds like extra work, but airport handling, temperature swings in the cargo bay and regular trunk storage change things fast between trips. A seat that passed your check in June might have a stuck buckle by August after sitting in a hot car.
Two things move how quickly problems appear. The first is how often the seat leaves your house. A seat used daily in your car and flown twice a year wears faster than one kept in a closet for occasional trips. The second is where it rides on the plane.
A seat carried into the cabin stays cleaner and cooler than one checked at the gate, where baggage handlers stack heavy suitcases against it. If you check the seat, inspect it immediately when you land at your destination, not the next morning. How often to replace, clean or service it depends on use, and the owner’s manual is the authority.
Frequently asked questions
Can I use a booster seat on an airplane?
No, booster seats aren’t allowed during takeoff, taxi or landing. Aircraft seats only have lap belts, and boosters need a shoulder belt to work safely. You’ll need a forward-facing or rear-facing seat with a built-in five-point harness instead. Check your airline’s policy page for their exact rule on boosters in the cabin.
Why does my car seat need a specific label to fly?
The label proves the seat was tested for aircraft-style lap belts and turbulence forces. Car-only seats might shift or fail when secured with just a lap belt. Without that printed certification phrase, the airline crew can legally refuse to let you install it in the passenger cabin.
How long does a car seat last before it expires?
Most car seats expire six to ten years after the manufacture date, which is stamped on the shell or printed on a sticker. That date doesn’t change based on how little you used it. Check the sticker on your specific model rather than guessing, because the range varies by manufacturer.
Is it safe to check a car seat as luggage?
It’s allowed, but baggage handling can crack the plastic shell or bend the frame without leaving visible marks outside the cover. If you must check it, use a padded bag and inspect the entire structure at your destination. A seat that took a hard drop in the cargo hold shouldn’t go back in your car.
What happens if my car seat doesn’t fit the airplane seat?
The flight attendant will ask you to check it at the gate, and your child will sit on your lap or in their own seat with just the aircraft lap belt. This is why measuring the width at home matters. Call the airline ahead of time if your seat is close to 17 inches wide.
Does it matter if the car seat was in a crash?
Yes, it matters completely. The National Highway Traffic Safety Administration recommends replacing any seat involved in a moderate or severe crash, even if it looks fine. Hairline cracks inside the shell won’t show on your checklist. Don’t bring a crashed seat on a plane or put it back in your car.
How long does the whole checklist take at the airport?
It takes about twenty minutes at home, but doing it at the gate adds stress and delays boarding. Run through every step the night before you pack so that at the airport you only need two minutes to pull the seat from its bag and show the agent the certification label.
Conclusion
Once everything checks out, snap a quick photo of the seat’s labels and store it on your phone. You’ll be glad you did if airport staff ask questions or baggage handlers misplace your gear. Pack your bags, and enjoy a stress-free flight with your little one.