


Taking a car seat on a plane is a common way to avoid rental fees, and most US carriers check it as a special item at no charge. To protect it from airline damage, pad every side, add identification, and use a bag strong enough to survive the belt system. The job takes 15 to 20 minutes and costs $15 to $40.
What you need to pack a car seat for a flight

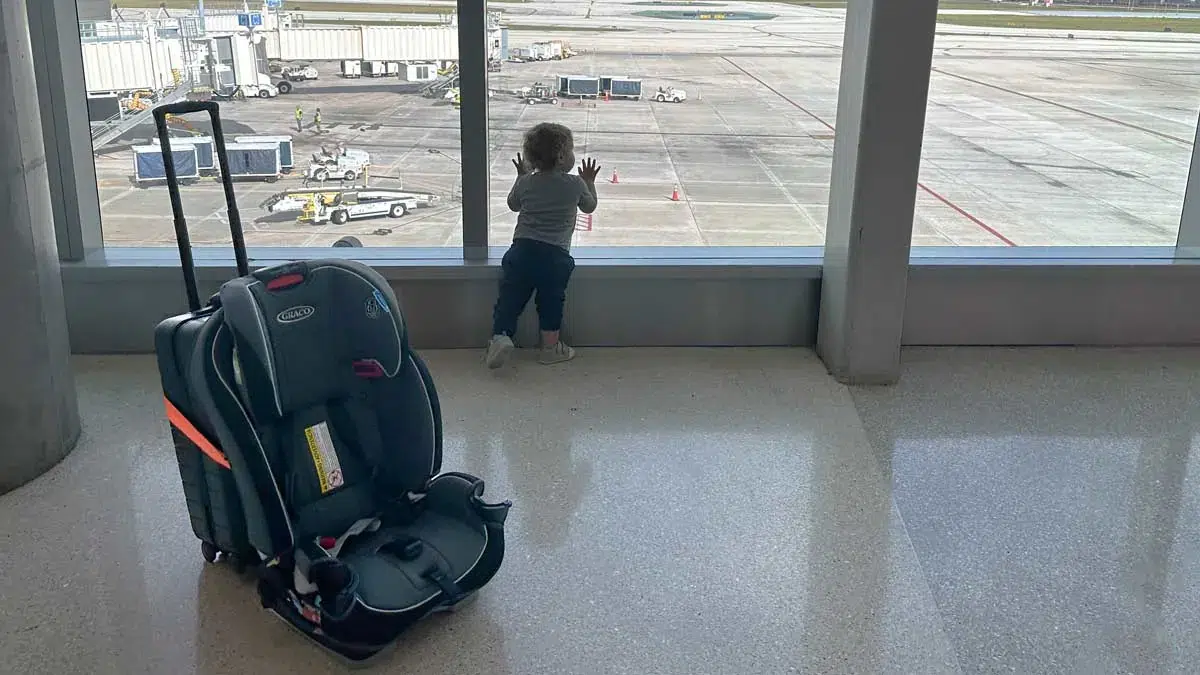
Padding is what absorbs the hits, and a bag alone won’t do it. Airline baggage systems move items on belts, through chutes and into bins, so the seat gets dropped, stacked and pushed. Anything that sticks out — a cup holder, a recline lever, a harness buckle — takes the force first. Check your seat’s manual for which parts come off, and never remove a part the manual says stays on.
| Item | How much | Why it’s needed | A substitute |
|---|---|---|---|
| Padded car seat travel bag | 1, sized to your seat | Absorbs belt and chute impacts | none — don’t swap this |
| Bubble wrap | 2-3 layers on shell edges | Cushions hard plastic corners | Foam sheets, same thickness |
| Foam pipe insulation | 4 lengths, cut to fit | Guards the shell rim | Pool noodles, split lengthwise |
| Packing tape | 1 roll, 2-inch wide | Holds padding in place | none — don’t swap this |
| Luggage tag | 2, one inside one outside | Reunites a lost seat | Paper tag in a taped pouch |
| Contact card | 1, name and phone inside | Airline can reach you | none — don’t swap this |
| Seat manual or model sticker photo | 1 copy | Proves model if you claim damage | Photo on your phone |
Prep the car seat before it flies
- Take off the fabric cover and the canopy if the manual allows it, and pack them in your carry-on. Loose fabric catches on belts and tears.
- Buckle the harness and tighten the straps, so the metal buckle can’t swing and crack the shell.
- Empty every pocket, cup holder and storage bin. A forgotten snack or drink will leak onto the seat under pressure.
- Photograph the seat on all sides before you wrap it, with the date visible. This is the one prep step people skip, and it’s the one that decides a damage claim.
- Write your name, phone and flight number on a card and tape it to the seat itself, not just the bag. If the bag rips open, the seat still has your details.
If your seat has been in a crash, or the shell is already cracked, stop here. A damaged seat can’t be checked safely, and no amount of padding fixes a shell that’s already failed. Replace it instead — the manufacturer and the National Highway Traffic Safety Administration both publish guidance on when a seat must be retired.
How to protect a car seat from airline damage

-
Read the manual first. Open your seat’s manual or the sticker on the shell and find the model number. Write it down. This takes 2 minutes, and you’ll need it if the airline damages the seat and asks for proof of what it was.
-
Photograph the seat. Take 6 photos — front, back, both sides, top and bottom — in good light. Include the model sticker in one shot. These photos are your evidence if the shell comes back cracked.
-
Remove what the manual allows. Take off the cup holder, the canopy and any clip-on tray only if the manual says they come off. Put those parts in your carry-on. A part that sticks out 3 inches is the first thing to snap.
-
Wrap the corners. Cut foam pipe insulation to the length of each shell edge and press it on. Corners take the hardest hits, so give each one 2 layers. Tape every 6 inches so nothing shifts.
-
Cover the shell in bubble wrap. Wrap 2 to 3 layers around the whole seat, with the bubbles facing in against the plastic. Tape the wrap at 4 points so it stays tight. The seat should feel soft to press, not hard.
-
Buckle and pad the harness. Click the harness buckle shut and pull the straps snug. Slide a folded towel or a piece of bubble wrap between the buckle and the shell so metal never touches plastic.
-
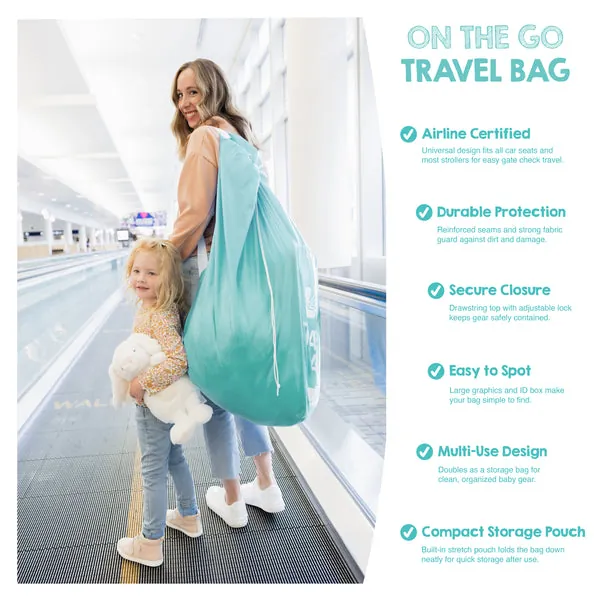
Slide the seat into the bag. Lower it in shell-first, with the padded side facing the bag’s base. Zip the bag fully. If the zipper won’t close without force, the padding is too thick — remove one layer.
-
Tag it twice. Attach one luggage tag to the bag handle and tape a second card with your name, phone and flight number inside the bag, on top of the seat. Two tags means one survives if the other rips off.
-
Mark it as a car seat. Write “CAR SEAT — FRAGILE” in large letters on the outside of the bag with a permanent marker. Gate agents and baggage handlers read these labels, and it tells them what’s inside without opening it.
-
Check it at the counter, not the gate. Hand the seat to the check-in agent and ask for a receipt or a bag tag number. Keep that number. If the seat goes missing, the tag number is what starts the trace.
How to tell the padding held up
A seat that survived the flight looks the same as it did in your photos. Check the shell for cracks, especially along the rim and around the harness slots, and press the plastic with your thumb — it should feel firm, with no flex or soft spots.
Look at the harness straps for fraying and pull them hard; a strap that stretches or slips means the seat took a hit. Check the label and the model sticker are still readable. If the bag came back torn but the seat is fine, the padding did its job.
A second round of protection is needed when the bag arrives with a hole bigger than your hand, when the shell has a dent you can feel but not see, or when the seat rattles. Any crack in the shell means the seat is done — a cracked shell can’t be trusted in a crash, even a small one. Don’t tape it and use it.
Replace the seat, and file a claim with the airline using your photos and your bag tag number. Most US airlines treat car seats as special baggage and cover damage under their own liability rules, but the limit and the process differ by carrier — check your airline’s contract of carriage page for the exact figure and the deadline to file.
If something goes wrong
| What happened | Why | What to do |
|---|---|---|
| Shell came back cracked | Bag had too little padding | File a claim with photos, replace seat |
| Bag arrived torn open | Thin bag, no corner foam | Check seat, keep bag for the claim |
| Seat is missing at baggage claim | Tag fell off in transit | Give the agent your bag tag number |
| Harness buckle bent | Buckle left loose and swinging | Stop using the seat, replace it |
| Airline refuses the claim | Filed past the deadline | Ask for the contract of carriage deadline |
| Seat smells of fuel or chemicals | Stored near leaking luggage | Air it outside, check straps for damage |
How often you need to replace the padding

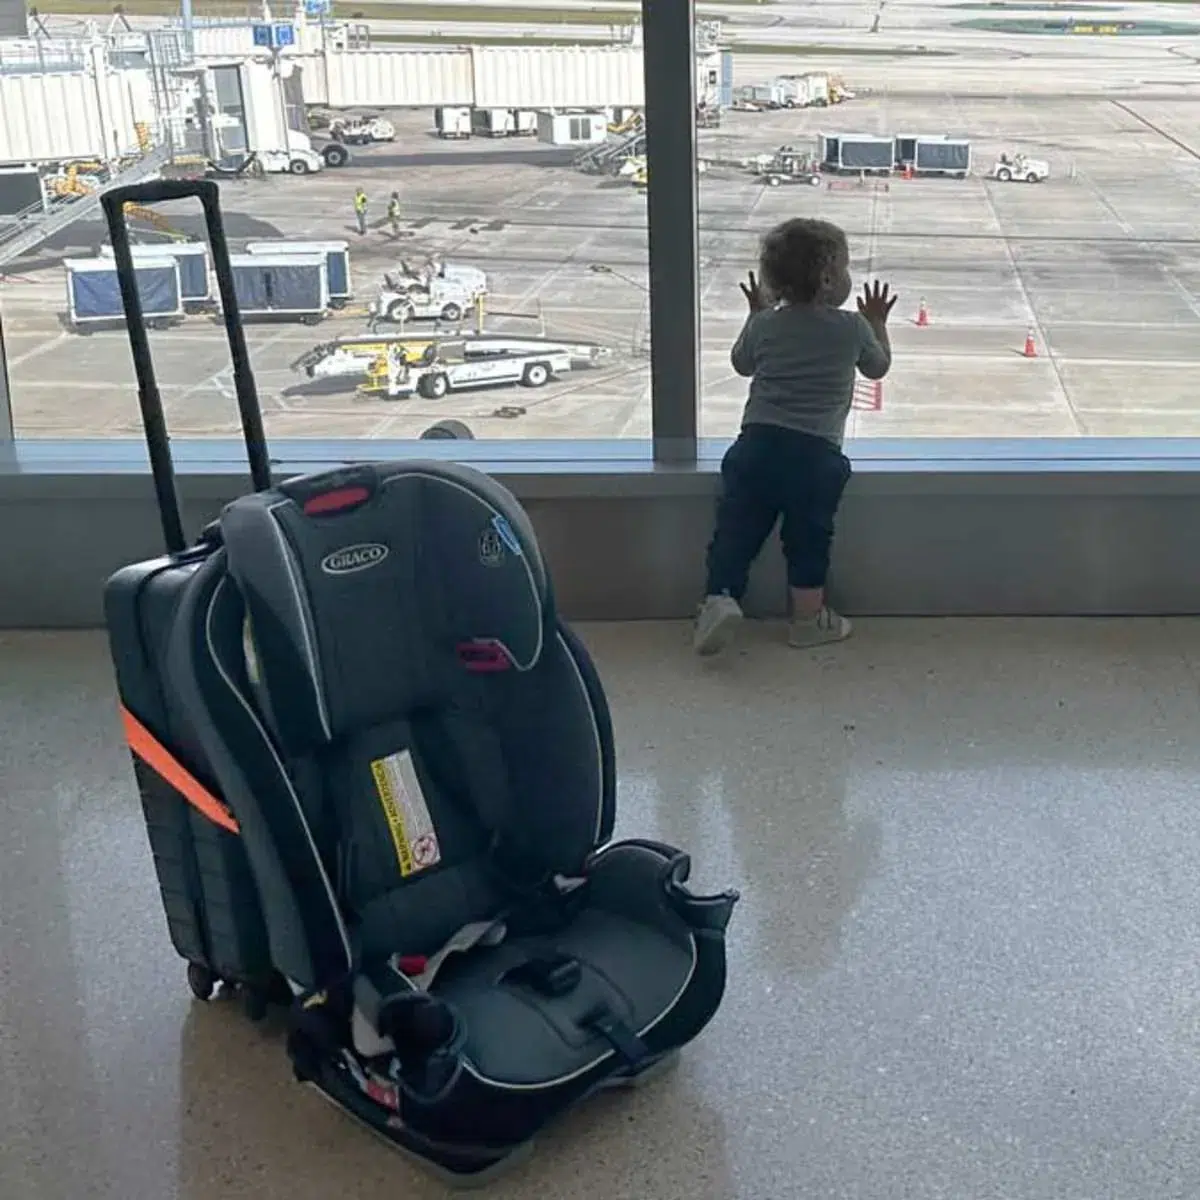
Padding is a per-trip item, not a permanent one. Replace the bubble wrap and foam every time you fly, because the wrap flattens and loses its cushioning after one trip through the belt system. A padded travel bag lasts longer — most hold up for several trips if the zipper and seams stay intact, but check them before every flight. If the zipper sticks or a seam is fraying, replace the bag before you fly, not after.
Two things change the interval most. The first is how many flights the seat takes in a year: a family flying 4 times a year replaces wrap 4 times, while a once-a-year trip means one fresh set. The second is the bag’s own condition — a bag stored in a hot car or a damp garage breaks down faster than one kept indoors.
Check the bag’s seams and zipper each time you pull it out, and check your seat’s manual for the manufacturer’s own guidance on when the seat itself expires. That date is printed on the shell or the label, and it’s the one number that decides whether the seat flies again at all.
Related guides
- 10 Best Toddler Car Seat Accessories 2026
- Harness vs. Convertible Car Seat: Which is Safer for 2026?
- Infant Car Seat Graco Comparison 2026
Frequently asked questions
Can you check a car seat on a plane for free?
Yes, on most US airlines. Car seats count as special baggage and are usually checked at no charge, in addition to your regular allowance. The rule differs by carrier, so check your airline’s baggage page before you fly. If you’re flying internationally, the allowance may not apply — confirm with the airline directly.
Is it safe to check a car seat as baggage?
It’s safe only if the seat comes back undamaged. A checked seat can be dropped, stacked or crushed, and any crack in the shell means the seat must be replaced. If you can, use the seat on board instead — the FAA recommends that children under 40 pounds use an approved child restraint system in flight.
How long does it take to wrap a car seat for a flight?
About 15 to 20 minutes for one seat, once you have the padding and tape ready. Wrapping the corners and adding 2 to 3 layers of bubble wrap takes most of that time. If you’re wrapping two seats, allow about 30 to 40 minutes total. Building your own padding from foam takes longer than using a padded bag.
What happens if the airline damages my car seat?
You file a damage claim with the airline, using your pre-flight photos and your bag tag number. Most US carriers cover damage under their own liability rules, but the deadline to file is short and differs by airline. Report it at the baggage office before you leave the airport. Keep the damaged seat until the claim is settled.
Does a car seat need its own bag to fly?
No, but a bag helps a lot. A padded travel bag holds the padding in place and gives handlers a handle to grab instead of the seat’s straps. A plain plastic sack tears on the first belt. If you don’t have a bag, wrap the seat in bubble wrap and tape it tightly, then tag it clearly.
Can I gate-check a car seat instead?
Yes, and it’s often the better choice. A gate-checked seat stays with you until the gate and is handed back at the door, so it spends less time on the belt system. Ask the gate agent for a gate-check tag. The seat still isn’t fully protected, so keep the padding on it either way.
How do I know if my car seat is too damaged to use?
Any crack in the shell, a bent buckle, or a frayed harness strap means the seat is done. Press the shell with your thumb — soft spots or flex are a warning sign. If the seat was in a crash or came back with visible damage, replace it. Don’t tape a cracked shell and keep using it.
Does the car seat’s expiration date matter for flying?
Yes, it matters for using the seat, not just for flying. Most seats carry an expiration date printed on the shell or label, and an expired seat shouldn’t be used in a car or on a plane. Check that date before your trip. If it’s close, replace the seat before you fly rather than after.
Conclusion
Padding, photos and a tag with your phone number are the three things that decide whether your seat comes home in one piece. Wrap it well, shoot it before you hand it over, and keep the bag tag number in your phone. If the seat comes back cracked, that’s a claim, not a repair — replace it and let the airline pay for it.